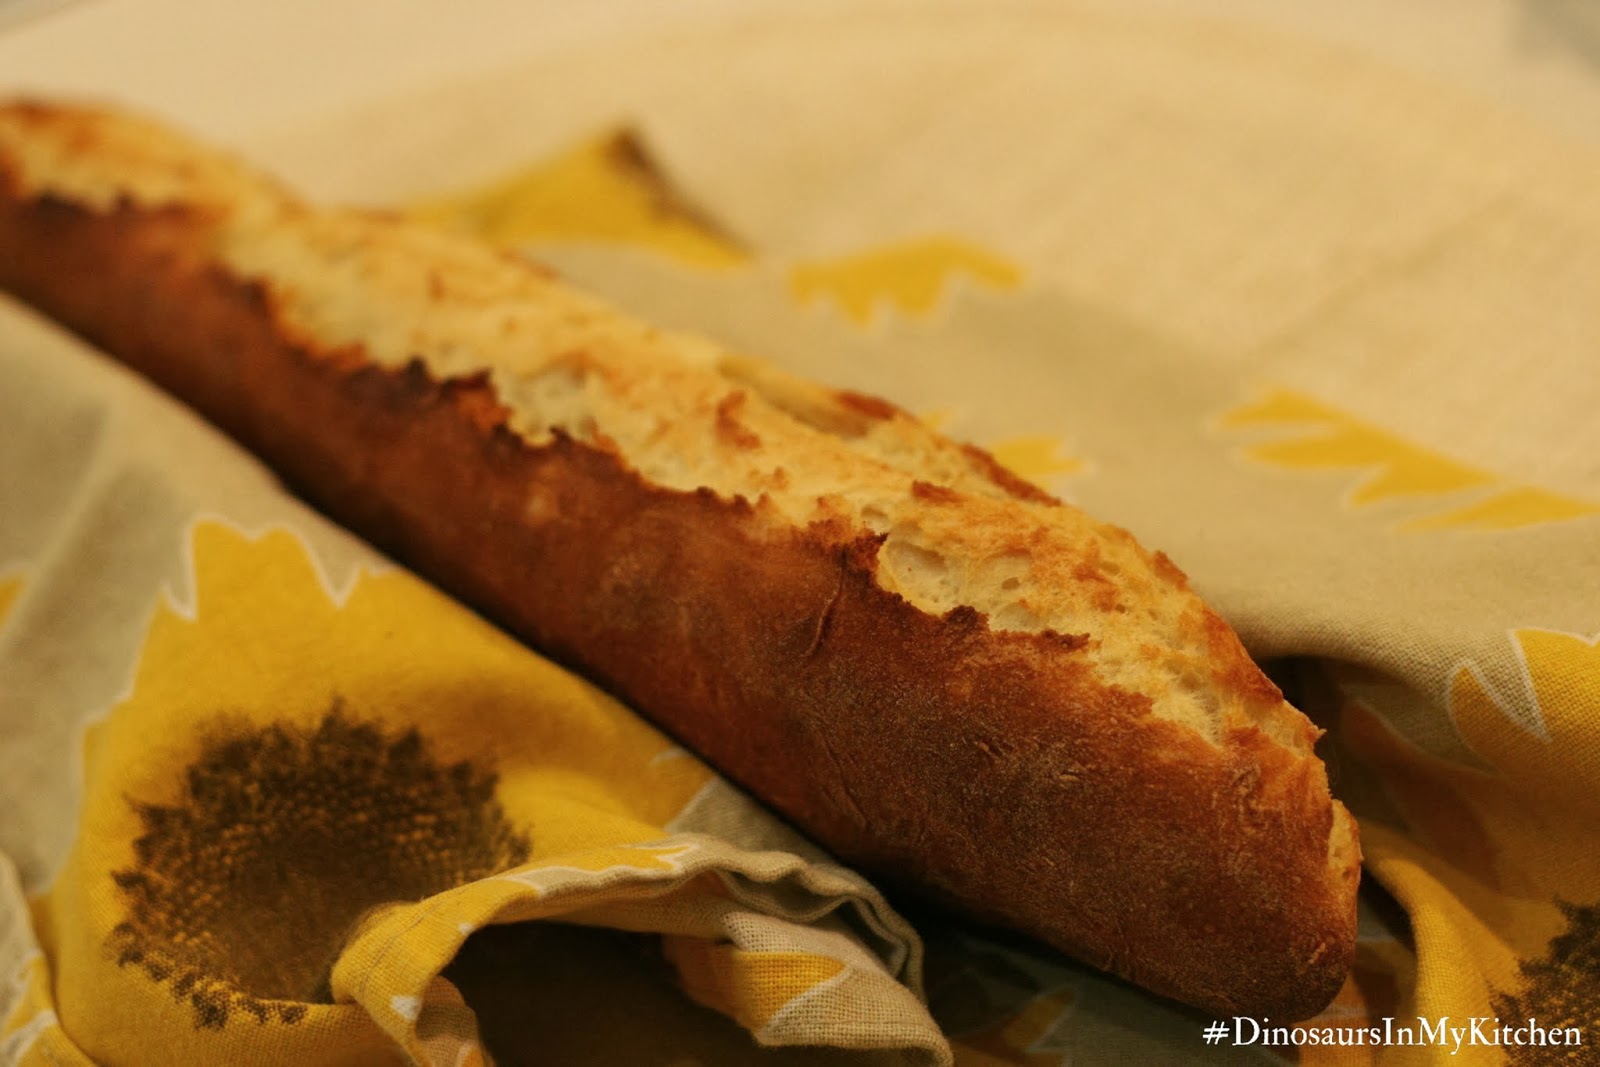
The crust is golden and crispy, the breadcrumb is fluffy and moist... huuuummm (French version of Yuuuuuumm)...
Making French baguette/stick is really easy, but you need to know the rules. Yes it's just a matter of following all the gestures and manipulations explained in the recipe and some very basic knowledge about bread making. I hope that after this post, you'll feel confident that you can go ahead with making French baguette. I'm giving you all the tips I know to make a good baguette. Do not compromise and follow them carefully. Bread making is almost scientific, so if you follow the recipe, there is no way you can't mess it up! Success guaranteed at first go! (or reimbursed? LOL)
I used my Kenwood FP980 with the dough tool, but I used to make my baguette by hand before, so don't be afraid if you don't have a fancy kitchen aid.
Ingredients (3 x 40 cm baguettes)
- 500 g flour*- 350 ml water, slightly warm
- 2 tsp dry yeast
- 1 tsp salt
Instructions (max. 4 hours preparation + 20 mins baking)
1. Mix the yeast in 3 tbsp of warm water (out of the 350 ml); rest for 20 min.2. Mix the flour and the salt in a big mixing bowl.
3. Mix the yeast preparation in the salted flour and gradually add the rest of the water (still slightly warm).
4. Knead for about 15-20 minutes, either using your kitchen aid or by hand. I still prefer to knead the dough by hand than with my Kenwood FP980. The dough will be sticky but don't add more flour!! This is the most common mistake: a bread dough must be sticky!
5. Cover the dough with a clean clothe and rest in an air tight location for leavening for 20 mins.
6. After 20 mins, delicately lift the dough off the bowl edges as a mean of relaxing and strengthening the dough.
7. Replicate this manipulation 5 times at 20 minutes intervals. During this process, the dough leaven and some bubbles should appear at the surface.
8. After the final manipulation, rest the dough for 20 extra minutes.
9. Divide the dough into three equal parts. For each portion, delicately roll as a ball and rest for 20 mins.
10. Flatten each ball and then fold them in three like you would fold a letter. Then roll to get a 30-35 cm long sticks - click here to watch a video - put on baking paper on a baking tray and rest for at least 20 mins (up to an hour or until it has doubled in volume).
11. At this stage (or earlier depending on how long it takes to your oven to get up to 230C), pre-heat the oven, fan bake, at 230C with a baking dish full of water at the bottom of the oven. This will create some humidity in the oven for a nice crust.
12. You can either incise the baguette with a sharp knife or not. I must ackowledge that at this stage I'm not sure I mastered the art of incising baguettes and I quite like the natural breach in the crust actually. So I'll leave this step to your experimentation!
13. Wet your hands and moisturise* the baguettes before you put them in the oven for 15-20 mins at a reduce temperature of 210C. You can cook two baguettes together. If the baguette crust is golden before 20 mins, you can take them out. I usually need only 15 minutes in my oven.
14. Let cooling down on a cooling rack. But don't wait too long before you crack and taste it! They are even better still warm!
 |
| Baguette / French stick |
Good to know
* The normal white flour is the most appropriate for this recipe. If you change of flour (e.g., high grade flour), be aware that you'll need to adjust the water proportion...* Moisturising the baguettes before you bake them prevent the bread from drying out during the baking process.


hummmmmm trop trop bon le bon pain croustillant
ReplyDeleteMerci Nadege! Oui elle est trop bonne cette baguette! ca comble largement le manque de ma petite boulangerie au coin de ma rue... bises
Deletesuper baguette vraiment jolie! et super blog aussi :) je bookmark !
ReplyDeleteThanks! Mais je ne rivalise pas avec toutes tes gourmandises ;) Je suis sure que tu dois toi aussi avoir une jolie recette de baguette.
DeleteHi Liz, I am another Auckland mum. I made this bread today and it worked perfectly! It was delicious, and I will definitely make it again. Thank you for the recipe and the tip - to moisturise/wet the bread before baking!
ReplyDeleteHi Helen! I am so glad you liked my recipe! Thanks!! :)
DeleteLooks like a good recipe, definately gonna try this one! Just one question, is it 350 ml water, or 250? The ingredients and instructions are different.. Cheers!
ReplyDeleteSorry for that and the delay (just coming back from holidays!!) The right proportion of water is 350ml. This has be corrected in the post. Thank you for pointing the inconsistency out.
Delete